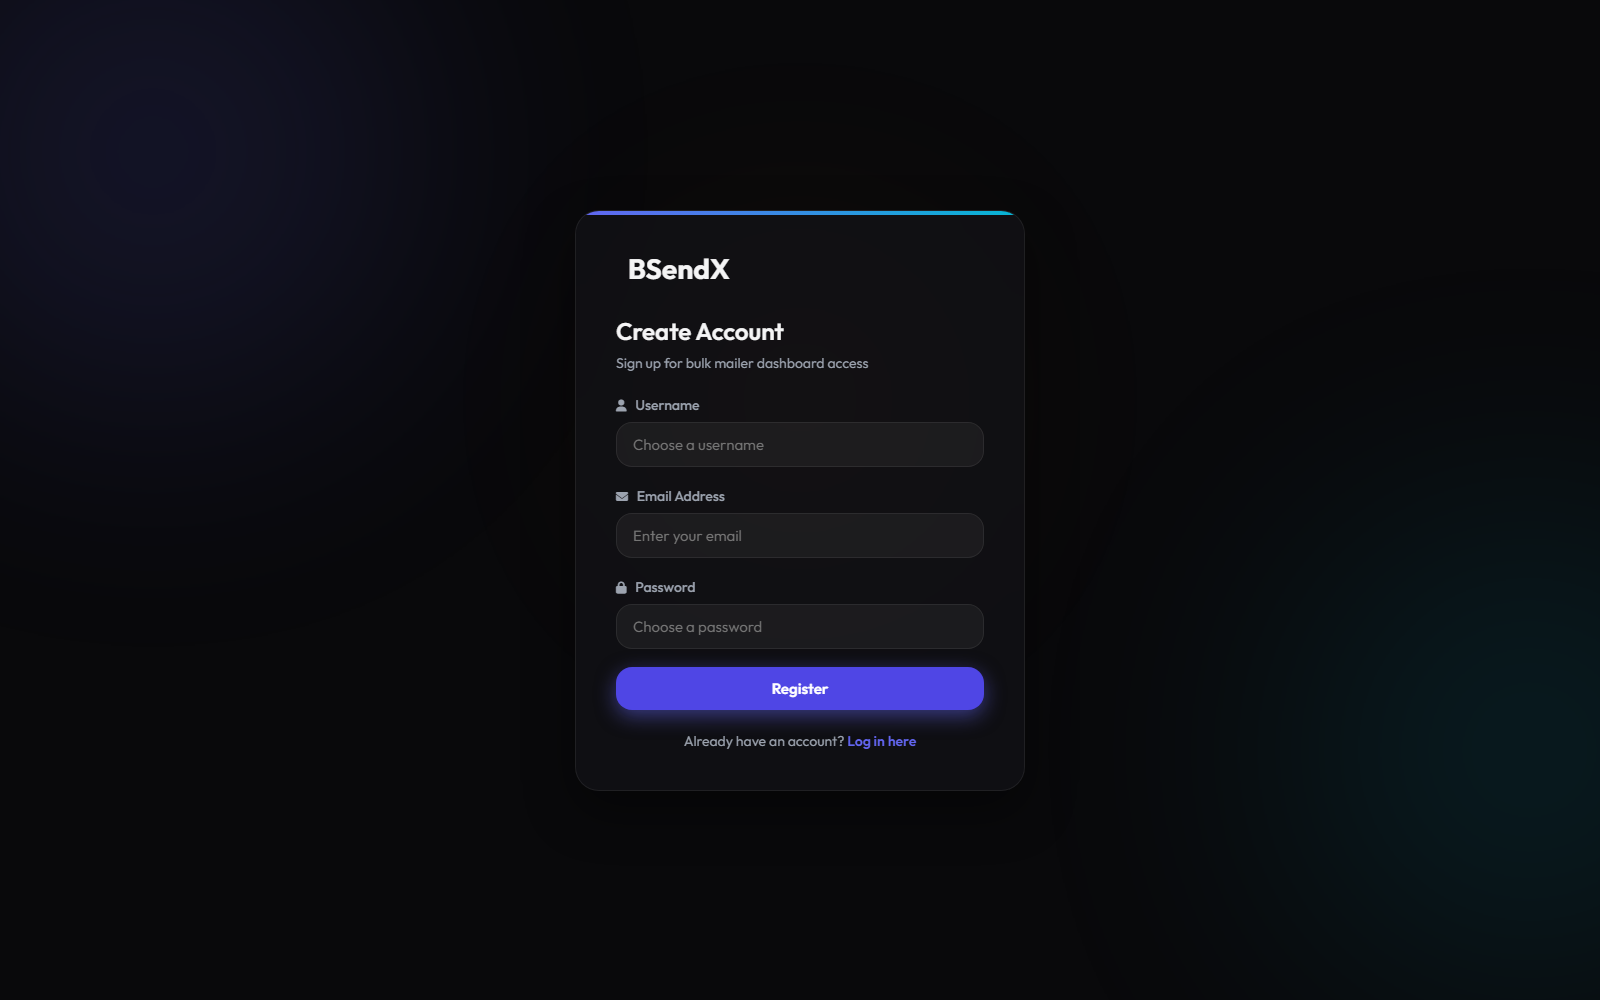
Create Your Account
Head to the dashboard and click Register here on the login screen. All you need is a username, email, and password — no credit card required for the Free plan.
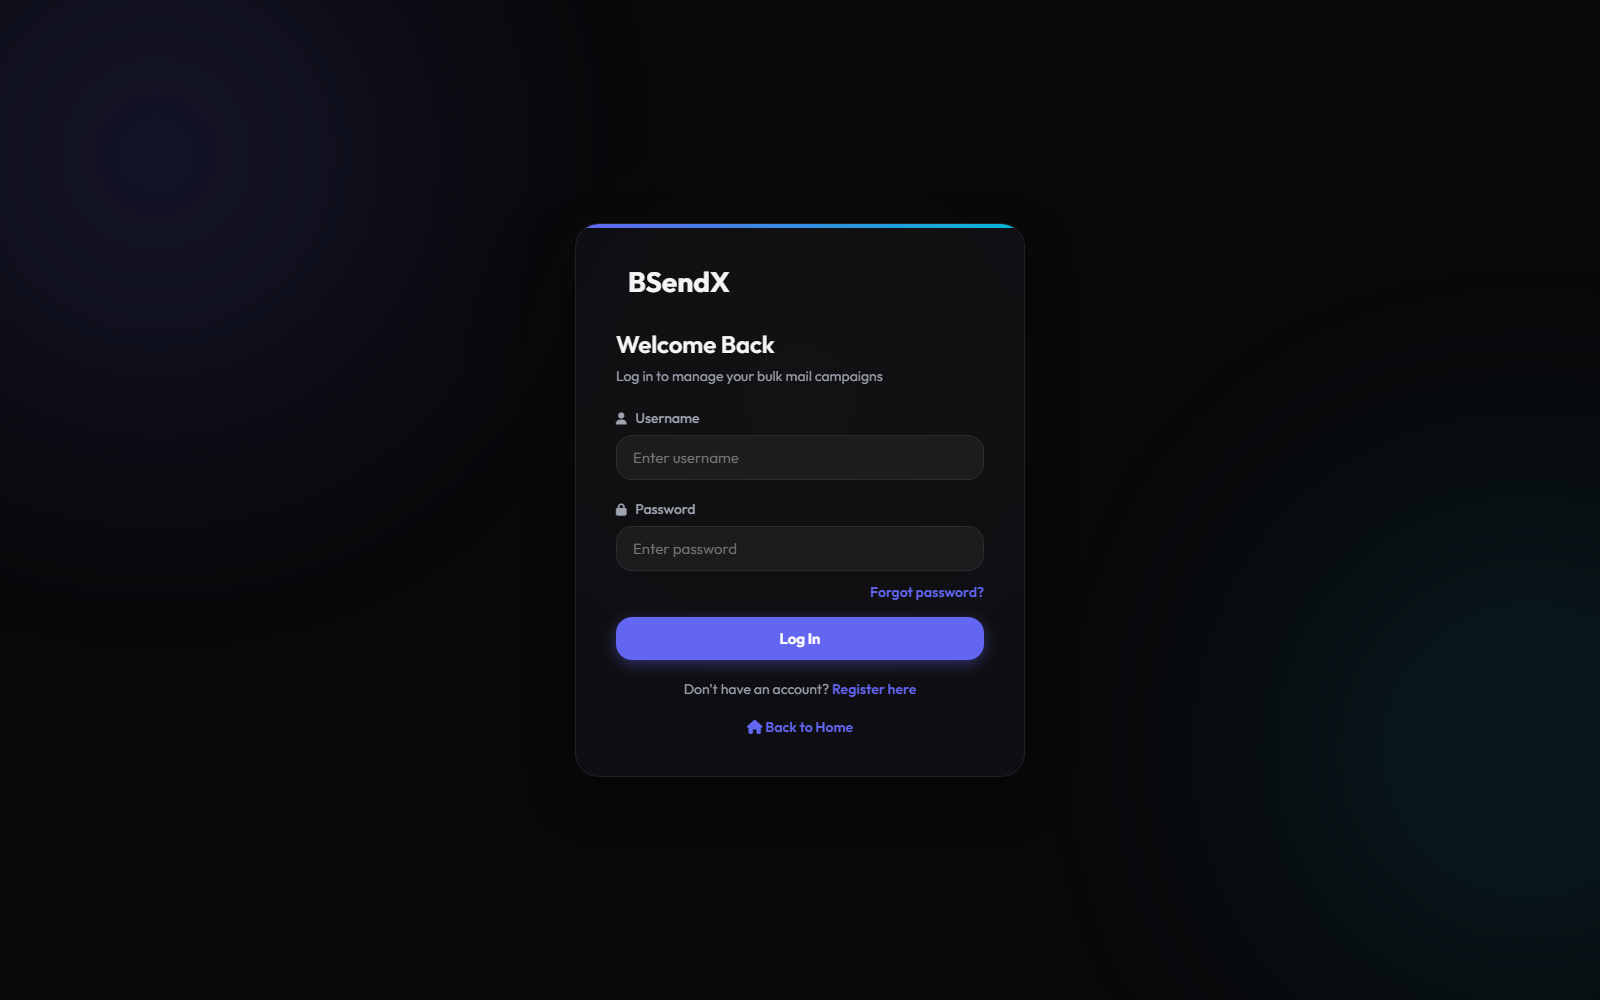
Log In
Once registered, log in with your username and password. Forgot your password? Use the Forgot password? link to get a reset email sent to your inbox.
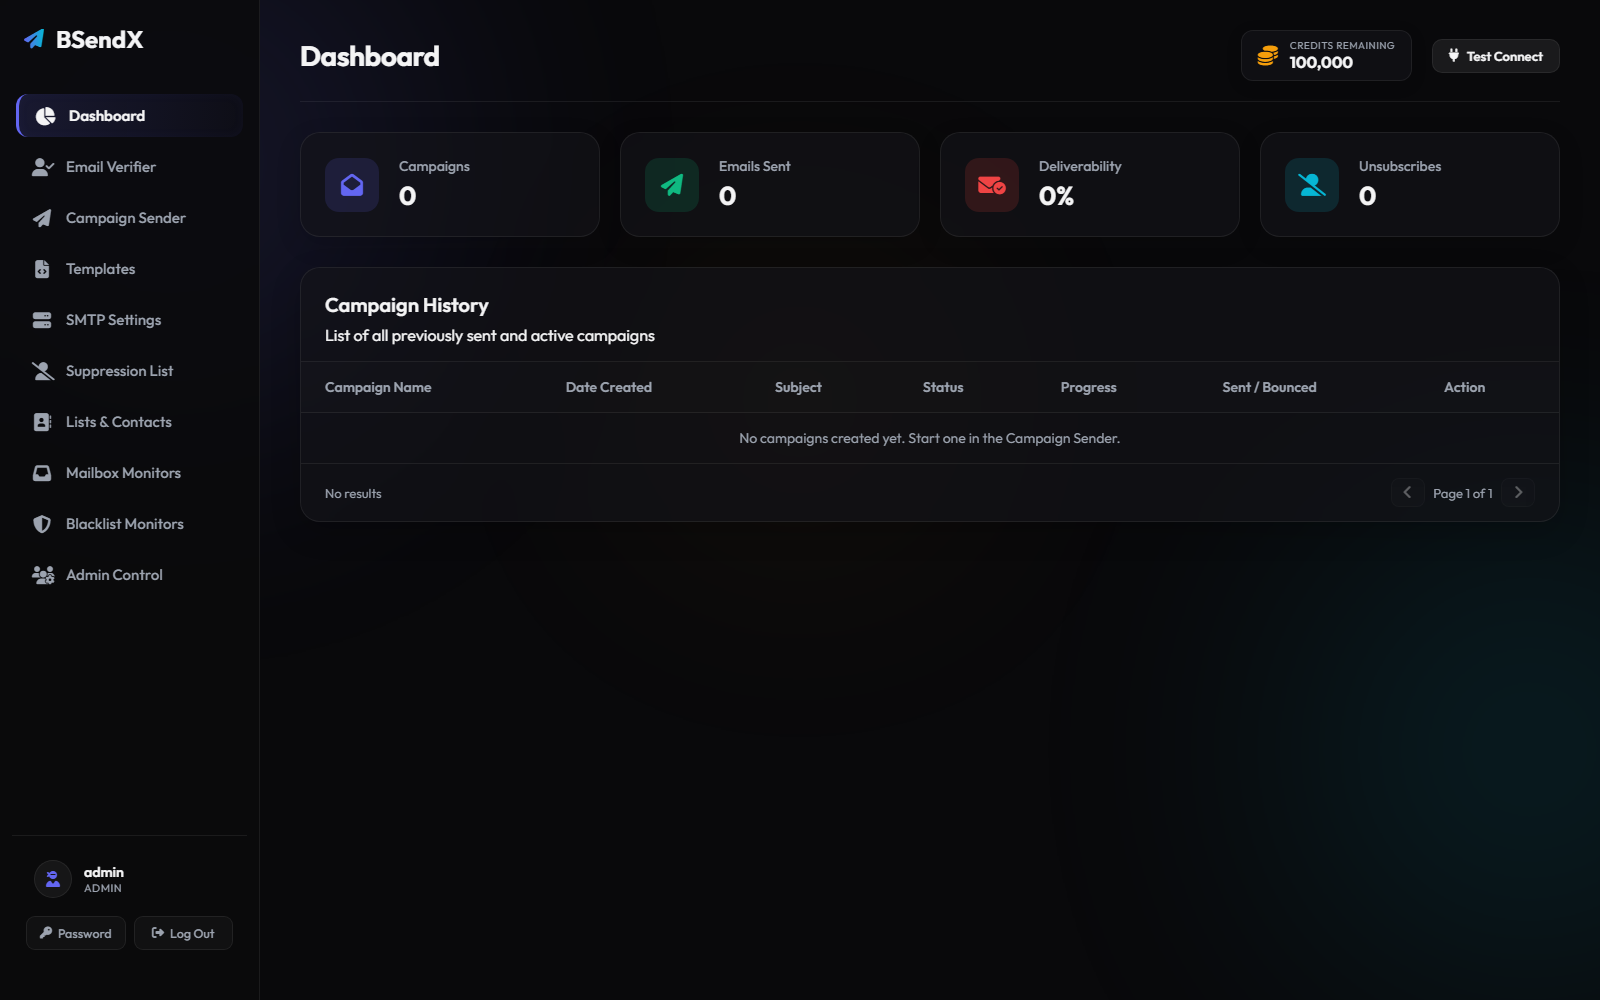
Your Dashboard
The dashboard gives you an at-a-glance view of your sending activity — total campaigns, emails sent, deliverability rate, and unsubscribes — plus a full history of every campaign you've run. Everything else in the app is one click away in the sidebar.
Add an SMTP Sender
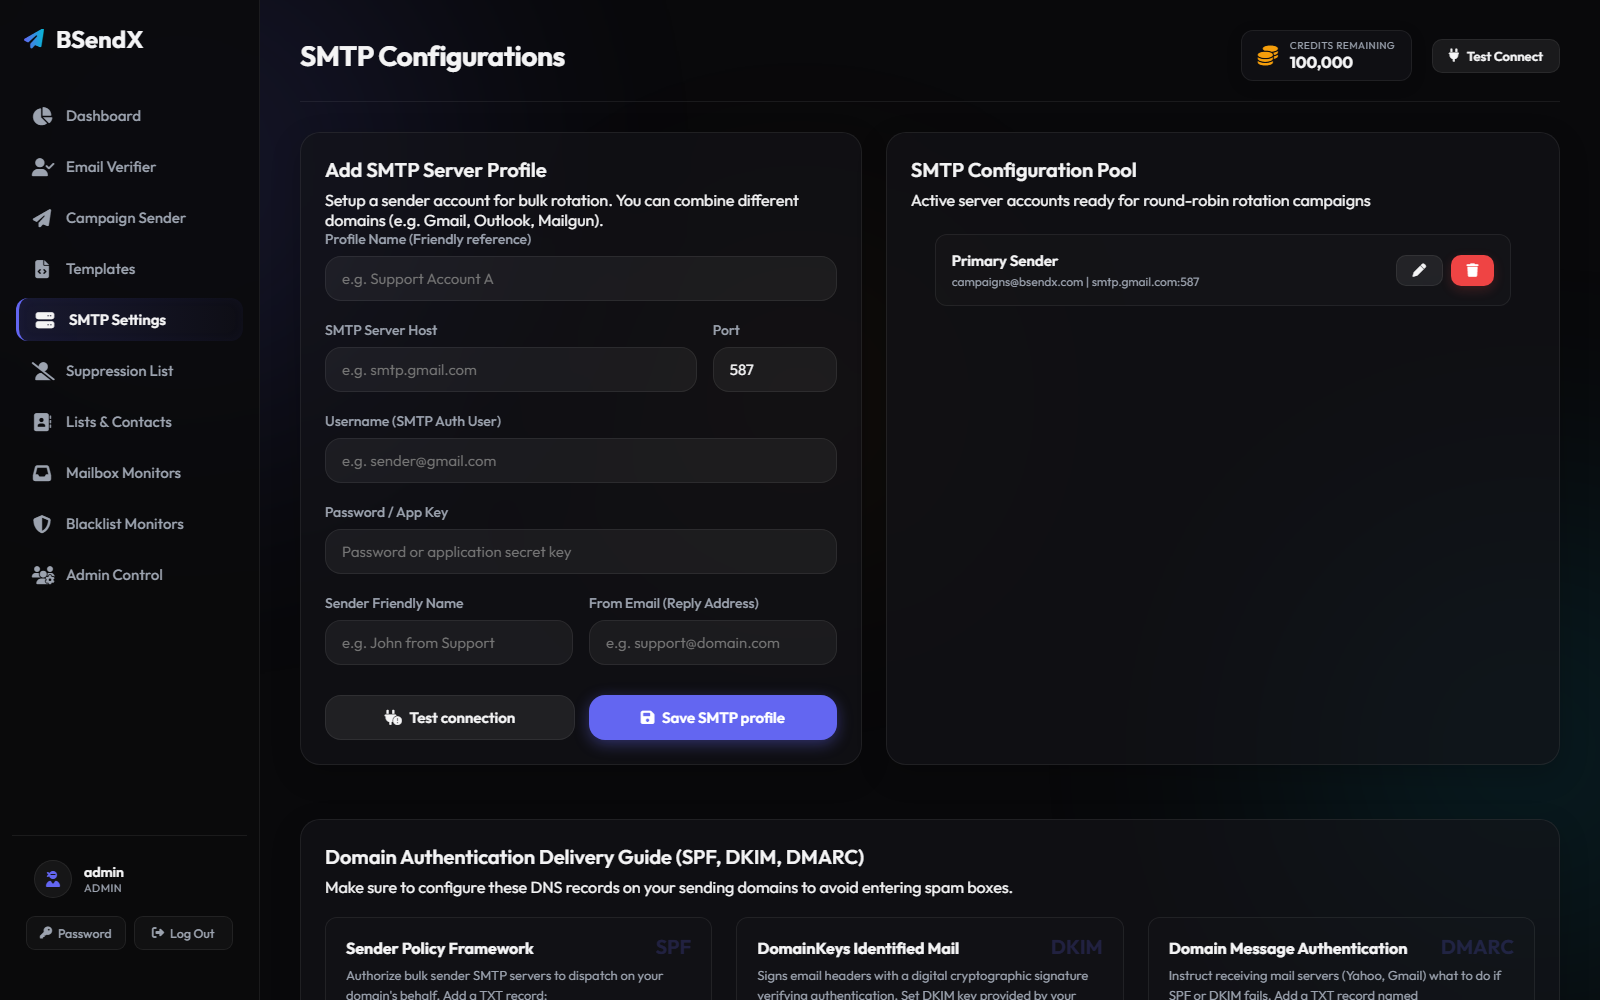
Before you can send anything, connect at least one SMTP account under SMTP Settings — Gmail, Outlook, Mailgun, SendGrid, or any custom SMTP server works. Give it a friendly name, host/port, credentials, and a from-address, then hit Test connection before saving. You can add multiple senders — BSendX rotates between them automatically during a send.
Scroll down on this page for a built-in guide to setting up SPF, DKIM, and DMARC records, which keep your emails out of spam folders.
Verify Your Recipient List
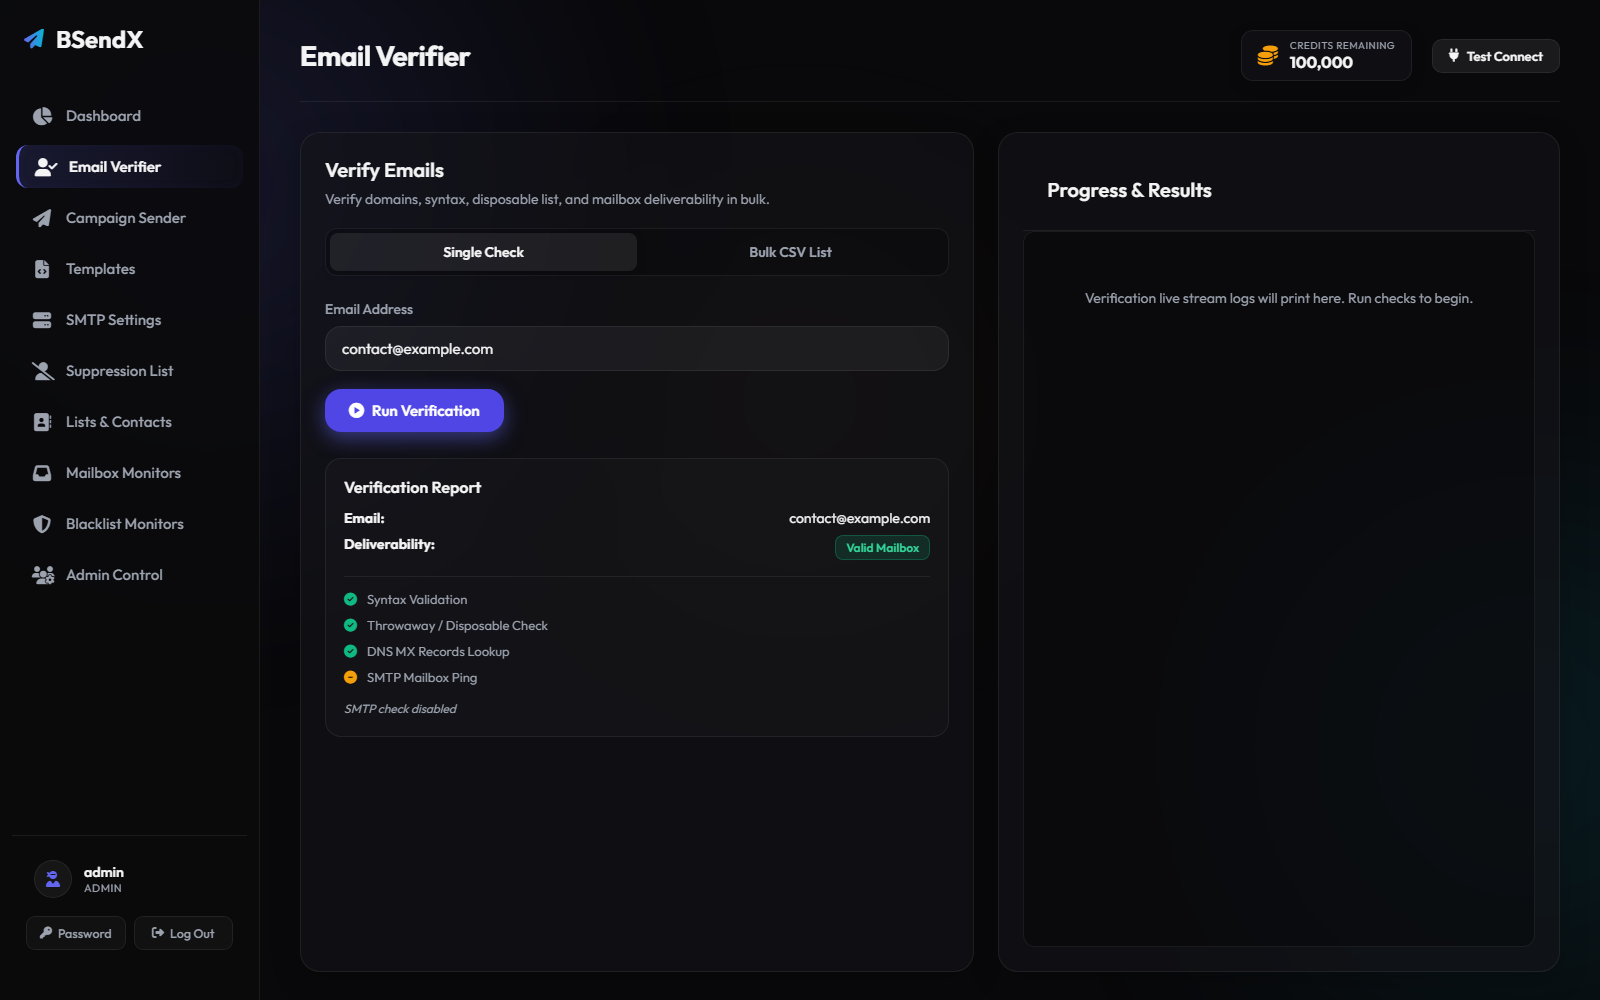
Before sending to any list, run it through the Email Verifier. Check a single address instantly, or upload a CSV for bulk verification. Each address gets checked for valid syntax, disposable/throwaway domains, DNS MX records, and — where enabled — a live SMTP mailbox ping. This keeps your bounce rate low and protects your sender reputation.
Build a Template
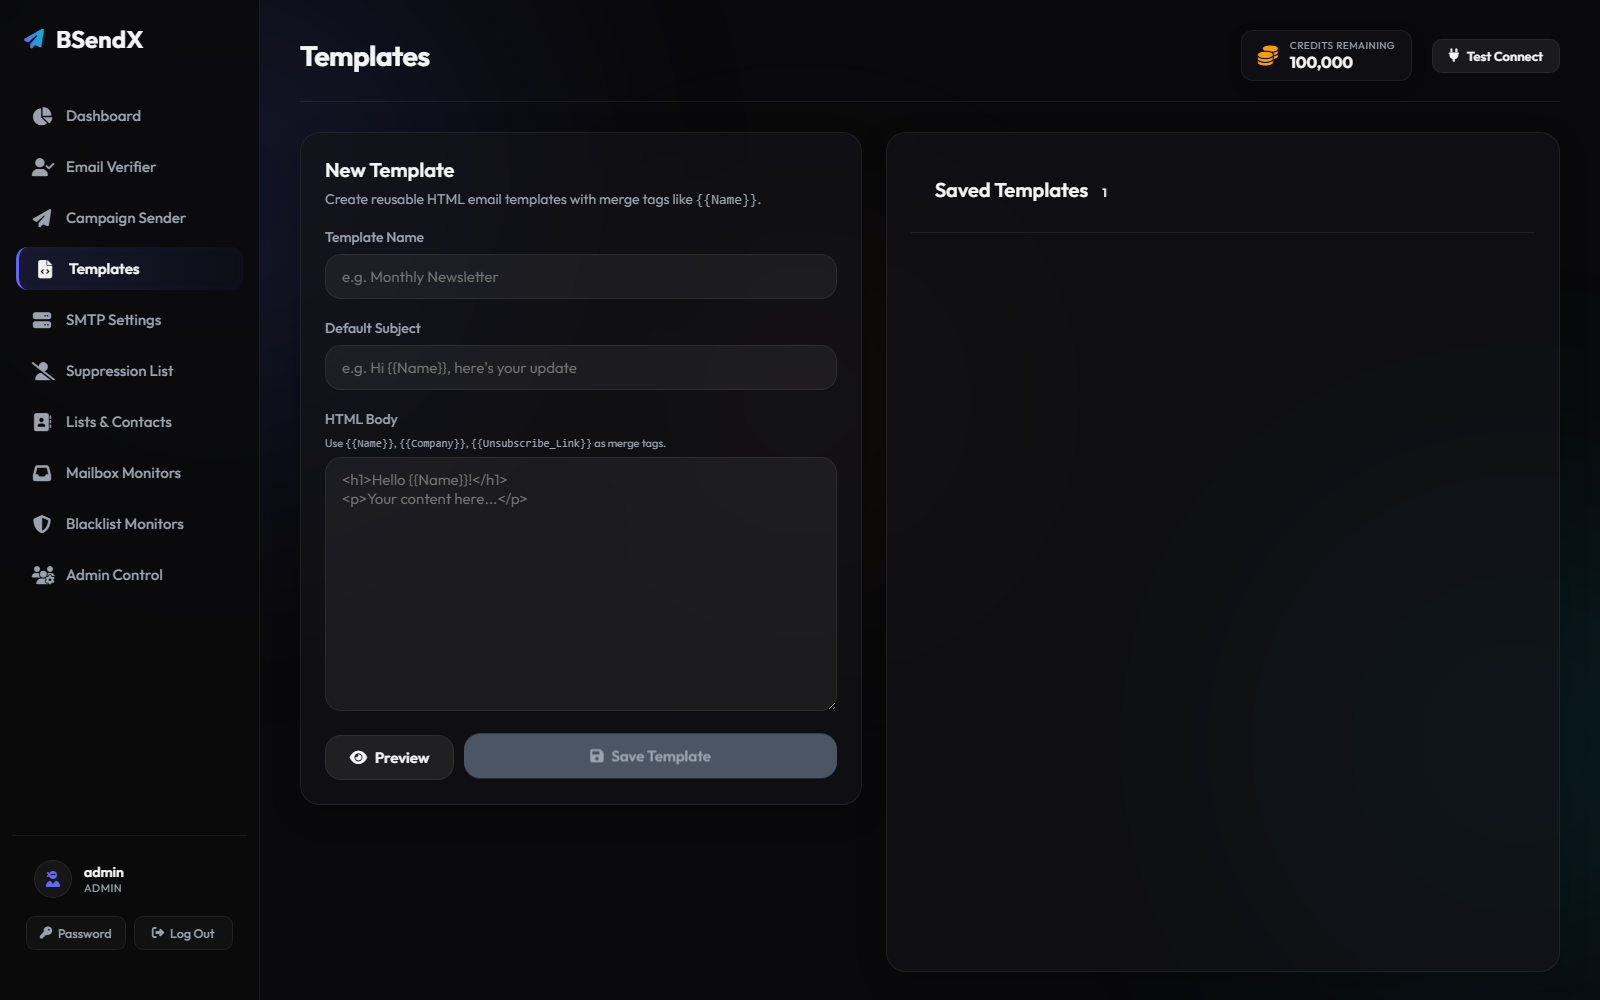
Save reusable HTML email templates under Templates. Use merge tags like {{Name}}, {{Company}}, and {{Unsubscribe_Link}} — BSendX automatically substitutes each recipient's actual data (and injects a compliant unsubscribe link) at send time. Templates aren't required — you can also write HTML directly into a campaign — but they save time for anything you'll send more than once.
Compose and Launch a Campaign
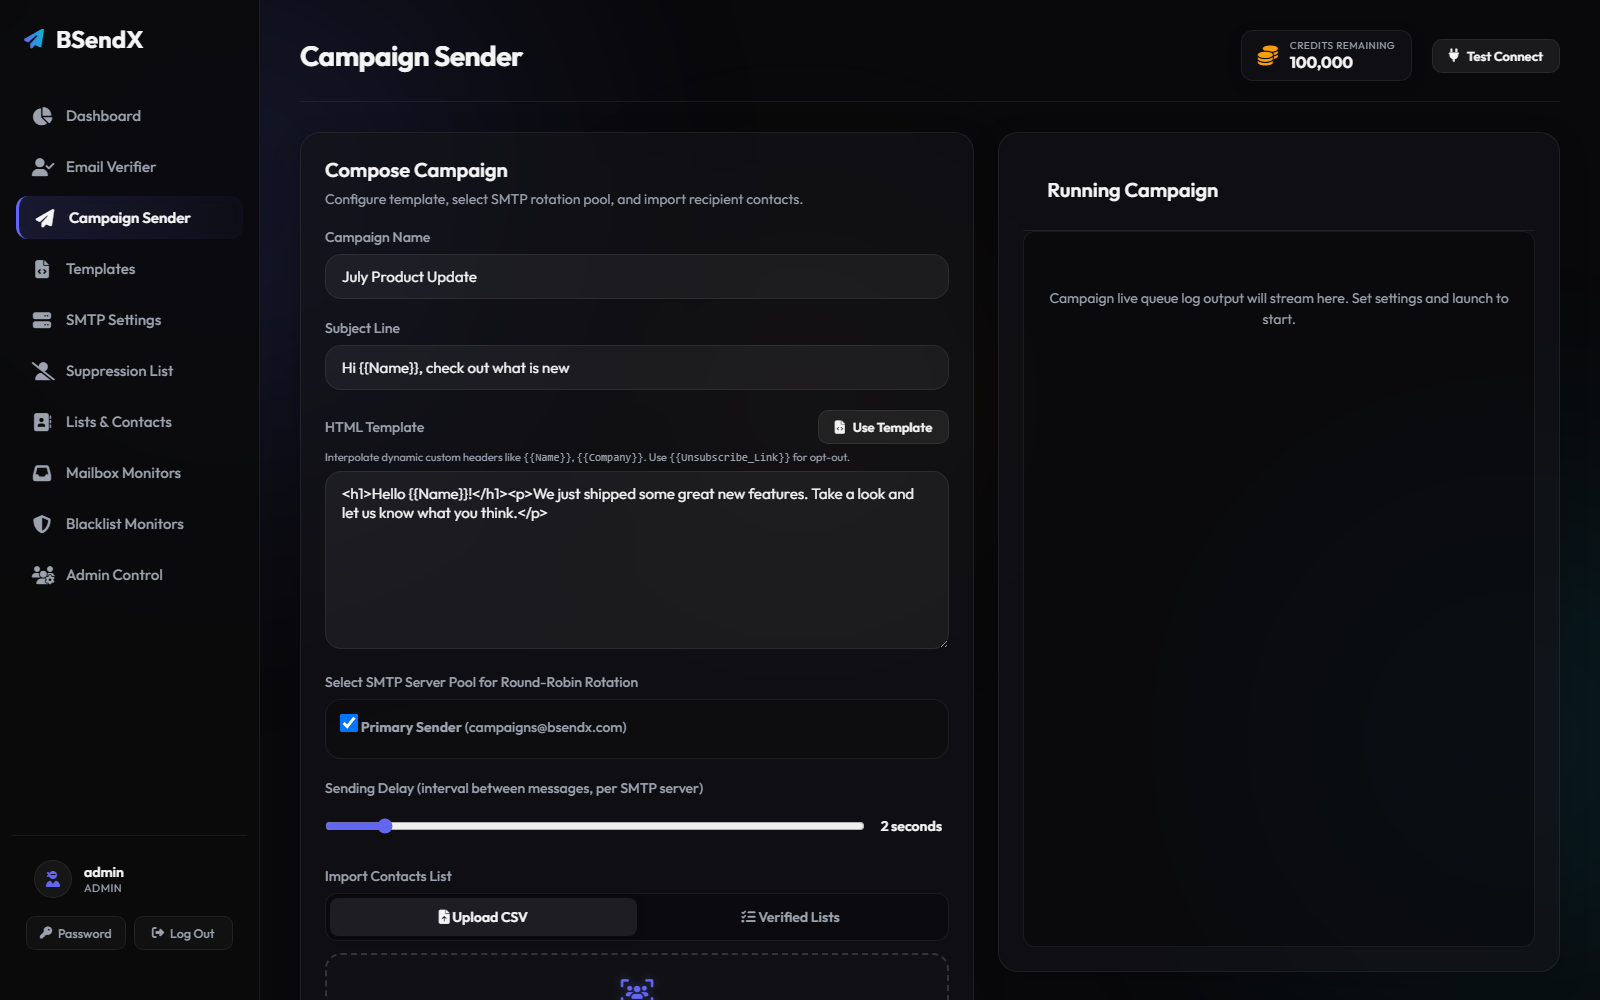
In Campaign Sender, give your campaign a name and subject, pull in a saved template (or write the HTML body directly), and select which SMTP sender(s) to rotate across. Set a sending delay to pace requests respectfully, then import your recipient list — either upload a CSV directly or load a previously verified list. When you're ready, hit Launch Email Campaign and watch live progress stream in on the right: sent, bounced, and failed counts update in real time.
Manage Your Suppression List
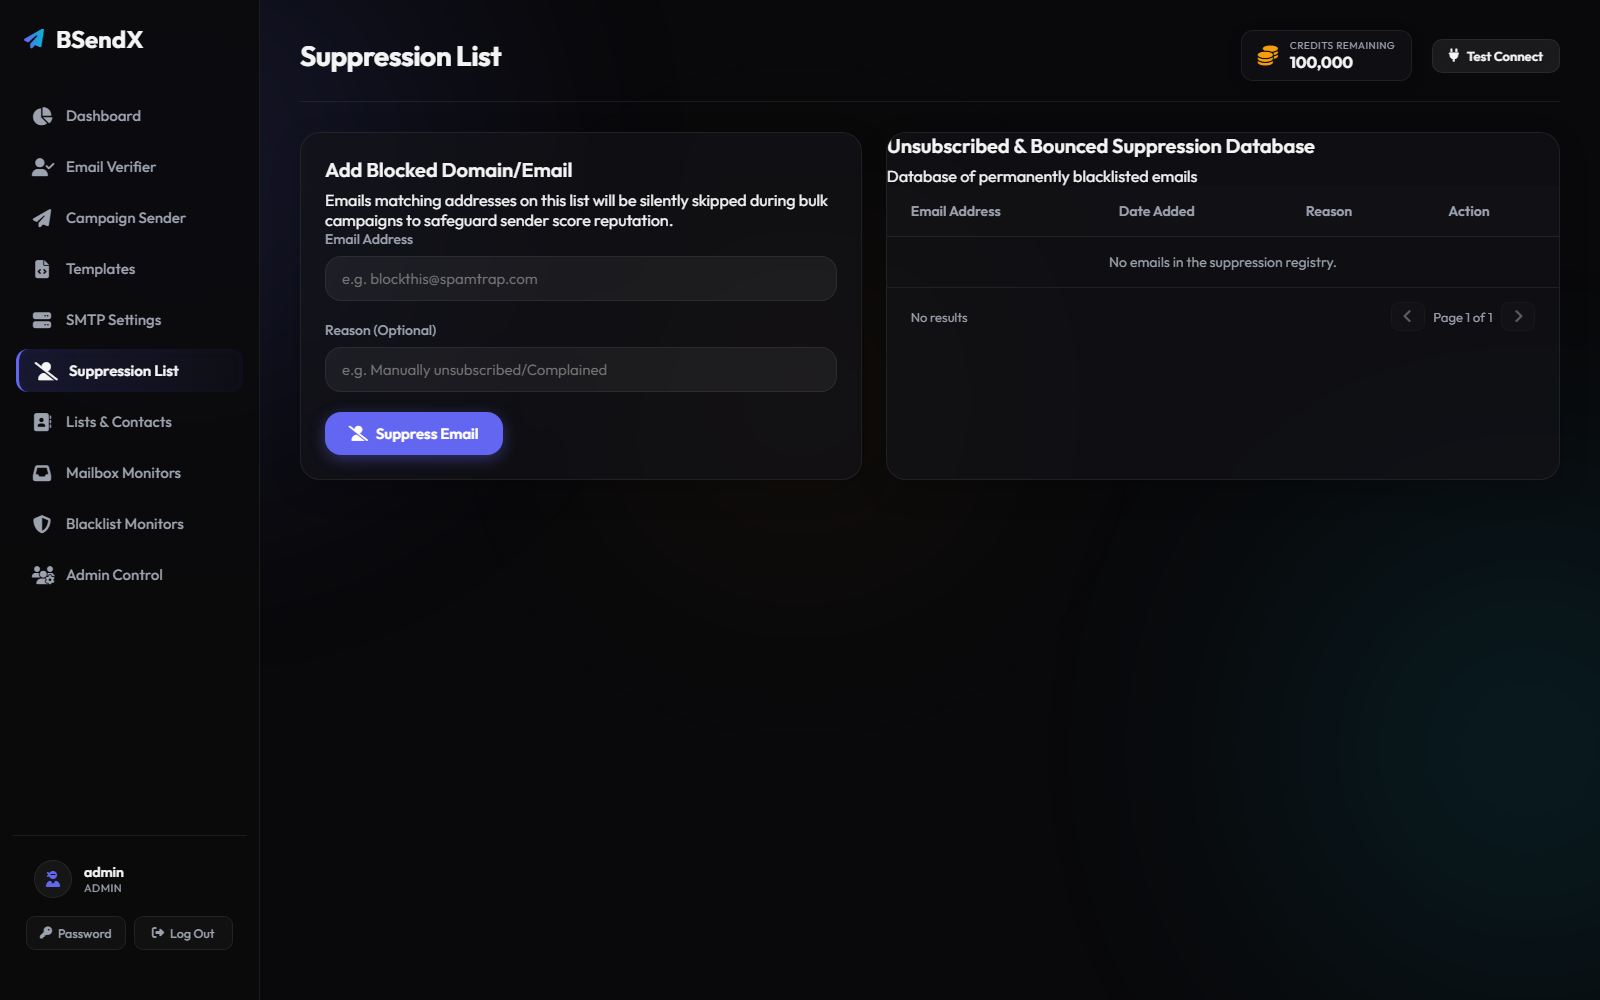
Anyone who unsubscribes or hard-bounces is automatically added here and permanently skipped on future sends — you don't have to do anything. You can also manually block a specific address or an entire domain (e.g. a known spam trap) at any time from the Suppression List screen.